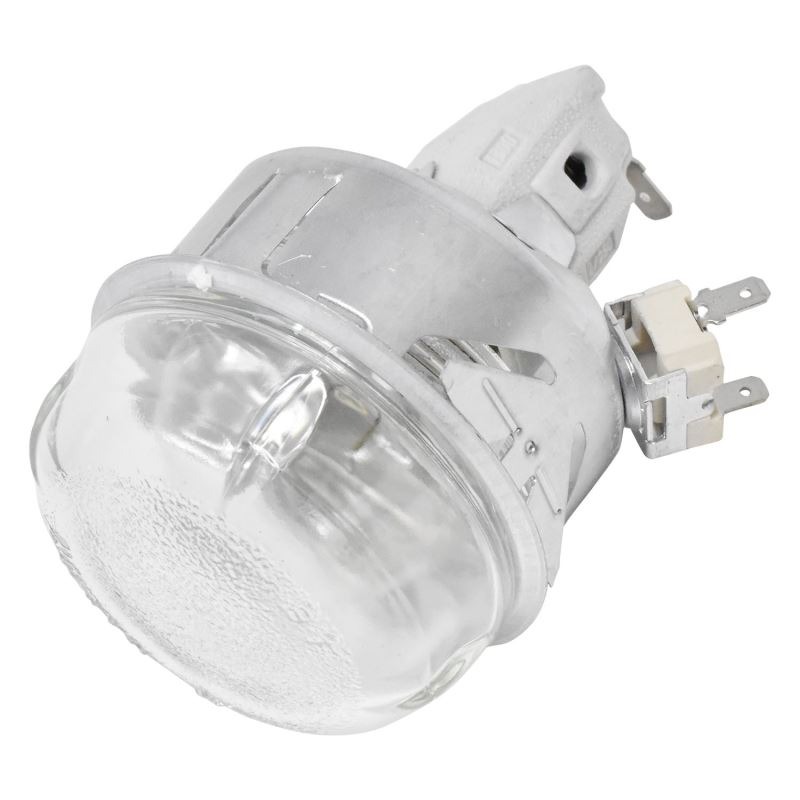
How to Replace an Oven Light
- Step-by-Step Guide: How to Switch Oven Light Bulb
- Fixing Problems: What to Do If New Light Doesn't Work
- Safety Tips for Oven Light Replacement
- Tips to Make Oven Light Bulbs Last Longer
How to change light bulb in oven? Replacing an oven light might seem like a daunting task, but with the right guidance, it can be a straightforward process. In this guide, we will explain how to change the oven light so that the appliance can illuminate your culinary creations again in no time.
 Step-by-Step Guide: How to Switch Oven Light Bulb
- Prepare Your Workstation: Before you begin, make sure your oven is turned off and completely cool to avoid any risk of burns.
- Gather your tools: a screwdriver (typically Phillips-head), a replacement oven light bulb, and possibly gloves for added safety.
- Locate the Light Housing: The oven light is usually located inside the oven cavity. Refer to your oven's manual if you're unsure of its placement. Once located, identify the light housing cover.
- Remove the Cover: Using your screwdriver, carefully remove the screws securing the light housing cover. Please keep them in a safe place to avoid misplacement. Once the screws are removed, gently pull the cover off.
- Replace the Bulb: With the cover removed, you'll have access to the old bulb. Carefully unscrew the old bulb from its socket. Take note of the bulb type (typically specified in the manual) to ensure you purchase the correct replacement. Insert the new bulb and screw it securely into place.
- Reassemble the Housing: Once the new bulb is in place, reattach the housing cover by aligning it correctly and securing it with the screws you removed earlier.
- Test the New Bulb: Before closing the oven door, turn on the oven to test the new bulb. If it illuminates properly, congratulations! You've successfully replaced your oven light bulb.
Fixing Problems: What to Do If New Light Doesn't Work
Why won't my oven light? Sometimes, despite your best efforts, the new bulb may not work. If this happens:
- Check the Power Supply: Ensure the oven is properly plugged in and that there are no issues with the power source.
- Inspect the Socket: Examine the bulb socket for any signs of damage or corrosion. If necessary, clean the socket with a dry cloth or a small brush.
- Verify the Bulb Compatibility: Confirm that you've installed the correct type of bulb for your oven model.
If you've tried these troubleshooting steps and oven light not working after replacing bulb, it may indicate a deeper electrical issue. In such cases, it's best to consult a professional technician.
Safety Tips for Oven Light Replacement
- Always disconnect the power supply before attempting any maintenance on your oven.
- Handle bulbs with care to avoid breakage and potential injury.
- Use protective gloves if handling hot components or working in tight spaces.
- If you encounter any resistance during the removal or installation process, stop and reassess to prevent damage to the oven or yourself.
Tips to Make Oven Light Bulbs Last Longer
- Avoid slamming the oven door, as this can cause vibrations that may shorten the lifespan of the bulb.
- Clean the oven regularly to prevent grease buildup, which can affect the clarity of the light.
- Can I use a regular light bulb in my oven? Consider investing in LED bulbs, which are more energy-efficient and have a longer lifespan than traditional incandescent bulbs.
By following these tips, you can ensure that your oven light bulbs remain in optimal condition, providing reliable illumination for your cooking endeavors.
In conclusion, replacing an oven light bulb is a manageable task that can be completed with a few simple steps. By adhering to safety precautions and following our step-by-step guide, you can maintain a well-lit oven that enhances your cooking experience.
